How To Make A CinemaGraph - Simple Guide
- iarora8951
- Mar 11, 2021
- 3 min read
In March 2021, Action On The Side ran a virtual Work Experience for Level 3 Media students. This article has been written as part of that, by Isheka A.
WHAT IS A CINEMAGRAPH?
There has always been a debate between Photography and Videography. They are two completely different things, right? A Cinemagraph is not an ordinary standard GIF like what's all around the web. It combines photography and videography into one and creates a still image into life.
EXAMPLES -


WHAT TOOLS DO YOU NEED?
If you are determined to make a cinemagraph you need all of the following:
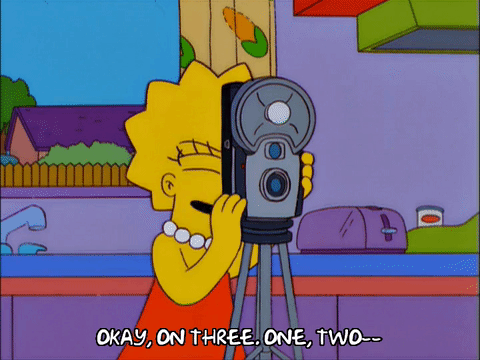
A recording device (I used an iPhone 6s Plus)
A tripod or anything that will keep your recording device completely still.
Adobe Photoshop / Premiere Pro (or any other editing software that can do masking)
MY EXAMPLE:
HOW TO MAKE A CINEMAGRAPH
Plan!
When making a cinemagraph you always need to know what you want to record to create an infinite loop.
You have to consider and think to yourself what action do you want to take place on the video? What will move, and which parts will remain still?
Ideally, you would want something that would mesmerise the audience’s attention and think what would be a unique GIF.
What I have done is look up some inspiration to come up with ideas and create something unique.
Record
As stated, one of the crucial pieces of equipment is a tripod. This is because you don’t want the image to move otherwise editing will be difficult.
If it’s pouring a liquid into a glass you have to keep in mind the subject has to keep still for this effect to work. This is difficult to capture but you only have to capture a few seconds and create an illusion later in Post. What I have done is put a tripod on top of the jug so it does not move, you can use anything that will stabilize your object.
One last shot that you need is an empty shot of the background (a tripod will be extra useful here).
If you don’t want to use a tripod to stabilise your object, then you have to bear in mind that you as the subject and the object have to keep extra still in order for the shot the work.
This is how I created the first GIF I have created.
Editing
You need an editing software: Adobe Photoshop (you can import videos), Adobe Premiere Pro, Da Vinci Resolve, Adobe After Effects, or any other software that allows you the ability to mask a clip.
Here is a breakdown of what I have done (using Adobe Premiere Pro):
Place the EMPTY SHOT on the timeline and the pouring shot on top of the clip.
Make a DUPLICATION of the pouring shot (ALT and DRAG above the clip)
DISABLE the viewing of the above clip and on the first pouring shot that you have placed go to the opacity tool (Effects control > Opacity) and then make a mask on the object that is stabilizing your jug.
Once you have done that INVERT the clip so it looks like there was no stabilization because you have put the empty shot at the bottom of the timeline.
Freeze hold the bottom two clips and enable the top clip. (Right-click > Add freeze hold)
Click on the TOP CLIP and make a mask on the liquid flow. Then swift through and look for a point that the liquid is pouring down looks the same at the beginning and the end.
To make it into an infinite loop GIF you have to cut half of the clip and add in a ‘Morphe Effect’ (Effect Control > type in Morphe Effect) in between the TOP CLIP.
I have tried making the clip-on Photoshop but my software did not allow me to playback so I had to find a way to make this effect on Premiere Pro (the reason why I couldn’t export it as a GIF).
And that’s it!


Comments